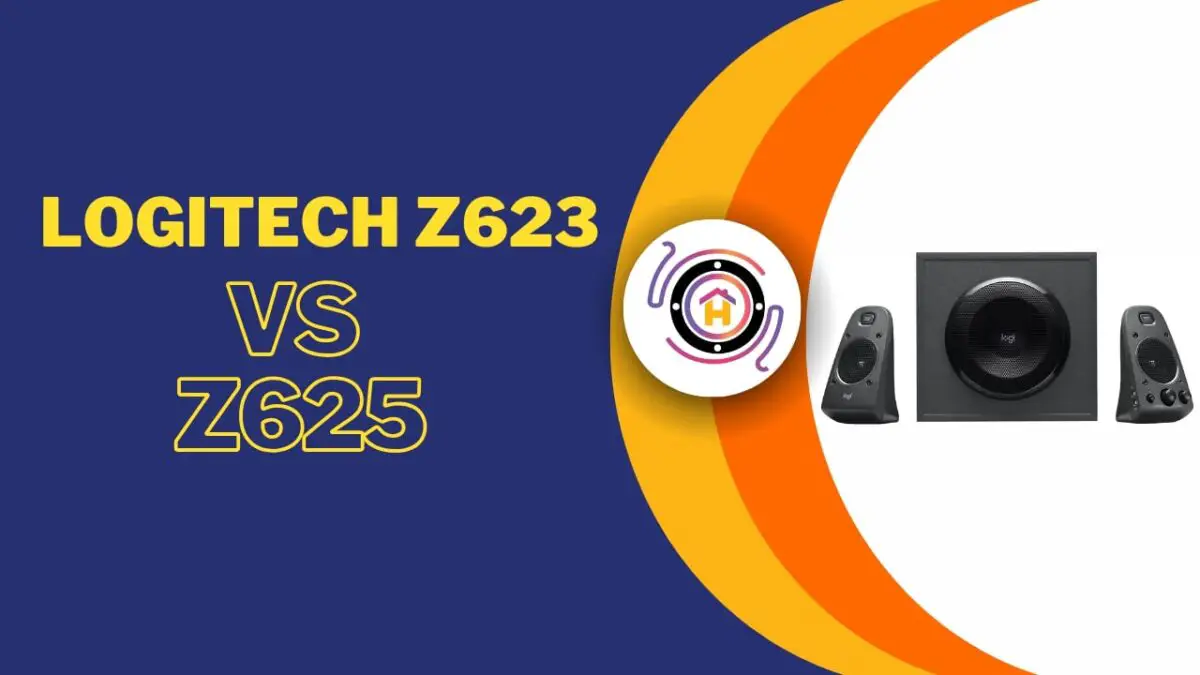
Logitech Z623 vs Z625 | Which Beats the Battle?
Ready to transform the way you experience music, movies, and gaming? The Logitech Z623 vs Z625 speaker systems are two standout contenders designed to deliver breathtaking sound. Whether you’re after thunderous bass or crystal-clear audio, this showdown will reveal which system offers the perfect balance of power and performance. Our in-depth comparison dives into every feature, helping you choose the right speakers to boost your entertainment and immerse yourself in a world of sound like never before.
Table of Contents
Comparison Table of Logitech z623 vs Logitech z625
| Feature | Logitech Z623 | Logitech Z625 |
| Design | Contemporary Elegance | Timeless Design |
| Total Power | 200 Watts | 400 Watts (200 Watts RMS) |
| Connectivity | RCA, 3.5mm, Audio Port | RCA, 3.5mm, Optical Input |
| Frequency Range | 35 Hz – 20 kHz | 35 Hz – 20 kHz |
| Subwoofer | 130 Watts, Free-Air | 130 Watts, Bass Reflex Enclosure |
| THX Certification | Yes | Yes |
Related: Polk Audio PSW108 Vs Polk Audio PSW10
Logitech Z623 400 Watt Home Speaker System, 2.1 Speaker System – Black
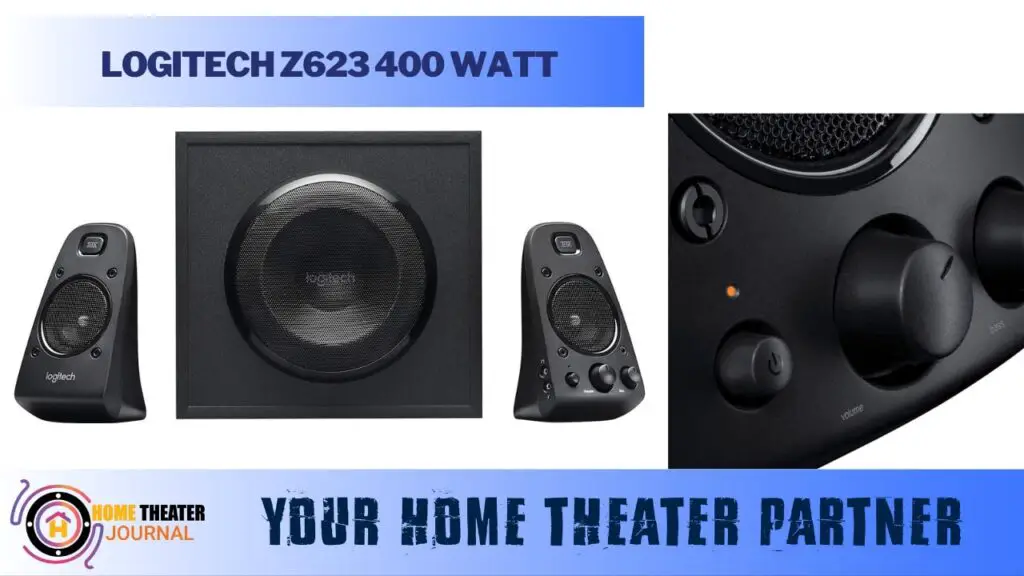
When it comes to delivering rich, room-filling sound, the Logitech Z623 stands out as a trusted choice for audiophiles and entertainment enthusiasts alike. Designed to deliver deep bass, clear mids, and crisp highs, this THX-certified speaker system transforms your audio experience, whether you’re enjoying music, gaming, or watching movies. Built with premium materials and engineered for optimal performance, the Logitech Z623 offers an impressive combination of power, design, and convenience.
Features and Specifications of Logitech Z623:
1. THX-Certified Sound:
The Logitech Z623 is certified by THX, ensuring high-quality sound output that meets rigorous audio performance standards. This certification guarantees that you’ll hear sound exactly as the creators intended, providing a truly immersive experience.
2. Powerful Output:
With a total power output of 200 watts, the Z623 delivers enough volume to fill any room. The system includes a 130-watt subwoofer and 35-watt satellite speakers, ensuring a balanced sound profile with deep, impactful bass.
3. Versatile Connectivity: The Z623 offers multiple connectivity options, including:
- RCA inputs for connecting TVs or gaming consoles.
- 3.5mm audio jack for mobile devices, tablets, and laptops.
This flexibility makes it easy to switch between different audio sources without hassle.
4. Intuitive Controls: The right satellite speaker houses easy-to-use controls for power, volume, and bass, allowing you to fine-tune your audio experience with minimal effort.
5. Compact and Elegant Design: The Logitech Z623 features a sleek, contemporary design with a durable plastic build. The subwoofer’s bold aesthetic, combined with sharp corners and a metallic grille, adds a modern touch to any room while maintaining durability.
6. Frequency Response Range: Covering a range of 35 Hz to 20 kHz, the Z623 ensures that you get to enjoy every audio detail, from deep bass notes to high-frequency sounds, making it ideal for music, movies, and gaming.
7. Dimensions and Weight:
- Satellite Speakers: 7.9 inches (height) x 4.6 inches (width).
- Subwoofer: 11.2 inches (height) x 12.0 inches (width) x 10.5 inches (depth).
- Total Weight: 19.7 lbs.
What inside the Box:
The Logitech Z623 comes with:
- 2 satellite speakers.
- 1 subwoofer.
- Power cable and RCA audio cables.
- Quick setup guide.
Pros
Cons
Why Choose Logitech Z623?
The Logitech Z623 is perfect for those seeking an affordable, high-performance speaker system for a variety of uses. Whether you’re setting up a home theatre or enhancing your gaming setup, the Z623’s powerful bass and versatile connectivity make it a solid choice.
Logitech Z625 Powerful THX® Certified 2.1 Speaker System with Optical Input, black
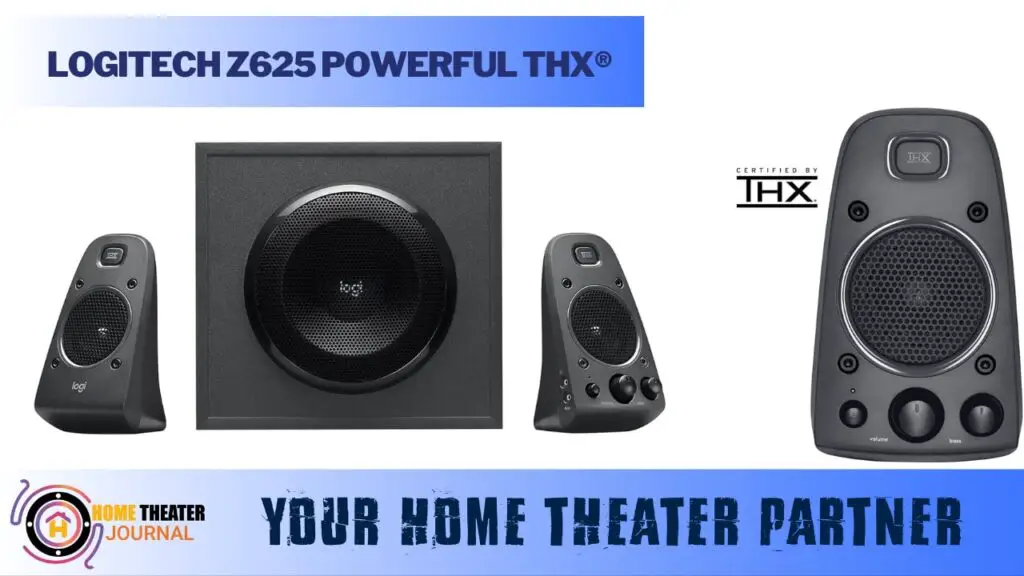
Step into a world of high-definition sound with the Logitech Z625, a speaker system crafted for enthusiasts who demand exceptional audio performance. With THX certification, enhanced power output, and expanded connectivity options, the Z625 sets a new benchmark for home entertainment. Designed to deliver rich, clear audio with booming bass, it’s the perfect choice for music lovers, gamers, and film buffs seeking a dynamic and immersive sound experience.
Key Features and Specifications of Logitech Z625
1. Certified for Premium Performance: The Logitech Z625 carries THX certification, guaranteeing theatre-quality audio performance with minimal distortion. Whether you’re watching movies or playing games, this system ensures every sound is delivered with precision and depth.
2. Powerful Output for Immersive Audio: Featuring 400 watts peak power and 200 watts RMS, the Z625 provides powerful, room-filling sound. The satellite speakers and subwoofer work in perfect harmony to create an impressive soundscape for any type of media.
3. High-Performance Subwoofer: At the heart of the Z625’s performance is its 130-watt subwoofer, designed with a bass reflex enclosure that amplifies low-end frequencies. This results in a deeper, more resonant bass that enhances the overall listening experience.
4. Versatile Connectivity: The Z625 offers multiple connection options, ensuring compatibility with a wide range of devices:
- Optical input for connecting to modern TVs, game consoles, and audio devices with digital output.
- RCA and 3.5mm inputs for traditional analog connections, perfect for computers, smartphones, and older devices.
5. Convenient On-Speaker Controls: Easily manage your audio experience with intuitive controls located on the right satellite speaker. Adjust power, volume, and bass levels effortlessly without interrupting your entertainment.
6. Frequency Response Range: With a frequency range of 35 Hz to 20 kHz, the Z625 delivers well-balanced sound across all frequencies, ensuring crystal-clear treble, rich mids, and deep bass.
7. Dimensions and Weight
- Satellite Speakers: 7.9 inches (height) x 4.6 inches (width).
- Subwoofer: 11.1 inches (height) x 11.9 inches (width) x 10.4 inches (depth).
- Total Weight: 18.3 lbs.
What inside the Box:
Power cable and quick start guide.
2 satellite speakers.
1 subwoofer with bass reflex enclosure.
Optical input cable.
RCA and 3.5mm audio cables.
Pros
Cons
Why Choose Logitech Z625?
With superior sound quality, powerful bass, and advanced connectivity options, the Logitech Z625 offers a complete home audio solution. Whether you want to boost your gaming experience, enhance movie nights, or simply enjoy your favourite music, the Z625 delivers outstanding performance in every category. Its blend of power, precision, and versatility makes it a top pick for audiophiles and entertainment enthusiasts alike.
Logitech z623 vs Logitech z625 Specs

Design and Size:
Our exploration into the Logitech Z623 vs Z625 dichotomy embarks with a deep dive into their size and design aspects. Surprisingly, the two share striking similarities in these speakers.
The Logitech Z623 and Z625 showcase an elegant plastic build, blending modern aesthetics with durability. Front and center, the power switches, high volume controls, and bass adjustments beckon users for seamless audio management.
A distinctive facet lies in the subwoofer design, characterized by a traditional demeanor adorned with a metal grille and sharp corners. The rear subwoofer inputs hold the key to differentiating the Logitech Z623 from its Z625 counterpart.
One pivotal distinction emerges in the inputs. The Z623 boasts analog inputs, while the Z625 introduces an audio port, enriching its connectivity repertoire.
Delving into dimensions, the Z625 stands tall at 11.1 inches, with a width of 11.9 inches. On the other hand, the Z623 maintains a more compact profile, measuring 7.9 inches in height and 4.6 inches in width. As for weight, the Z625 tips the scale at 18.3 lbs, while the Z623 slightly outweighs it at 19.7 lbs.
Set Inclusions:
The Z623 ensemble presents a central speaker, two satellite speakers, and a subwoofer, forming a symphony of sound. The Z625 set harmonizes with its predecessor but with the addition of an optical input cable. This optic wonder orchestrates superior connectivity, feeding the satellite speakers adeptly and amplifying the dominance of the right satellite speaker.
Total Power:
The power of Z623 boasts 200 Watts, while the Z625 elevates this with a total power of 400 Watts and an additional 200 Watts RMS. The distinction between peak power and RMS power is pivotal. The Z625 reigns supreme, promising an auditory experience that resonates with vigor.
Sound Quality:
The Z623 encapsulates precision with each note, encompassing clear highs and a broad midrange through its speakers and subwoofer. Conversely, the Z625 mirrors this promise, engaging in a dance with impeccable soundbars. Its optical input seamlessly adapts to TV inputs, redirecting sound to the speakers for an unhindered experience.
Frequency Response:
Both the Z623 and Z625 harmonize in frequency response, spanning 35 Hz to 20 kHz. However, the Z625 excels in handling mid and high frequencies, heralding a superior sensitivity of 103dB compared to the Z623’s 92 dB. This round is an apparent triumph for the Z625.
Connectivity:
Logitech Z623:
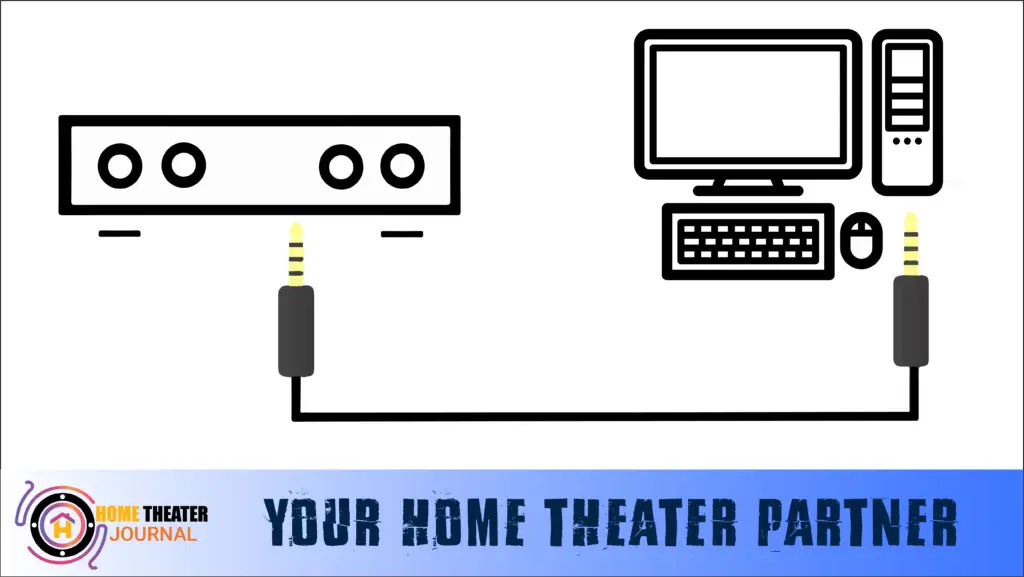
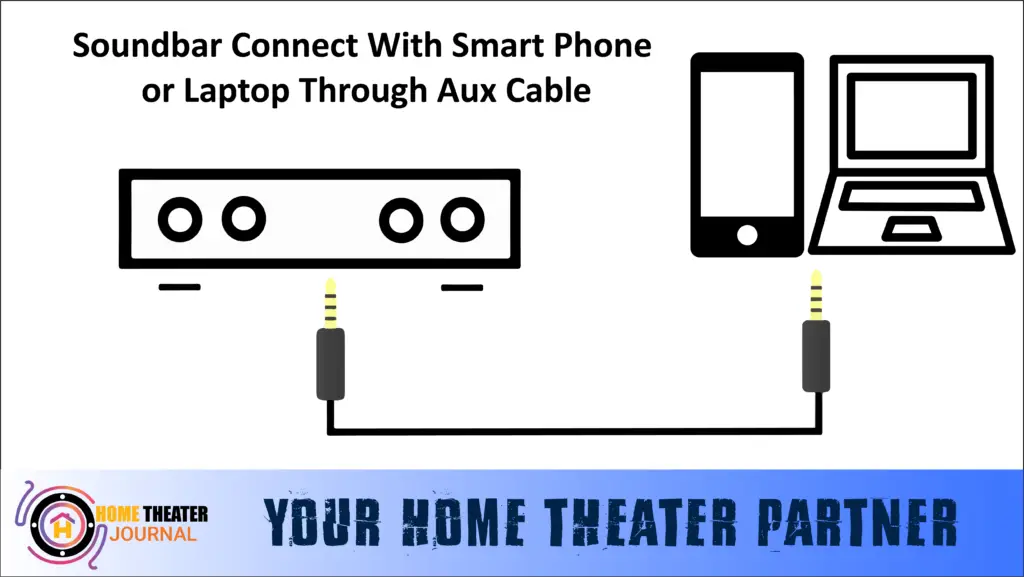
At the heart of Logitech Z623’s connectivity lies the RCA input, which establishes a direct tether to your audio – your PC or audio system. The 3.5mm speaker cable adds a personal touch, facilitating an intimate connection with your mobile device for immersive music rendezvous.
Logitech Z625:
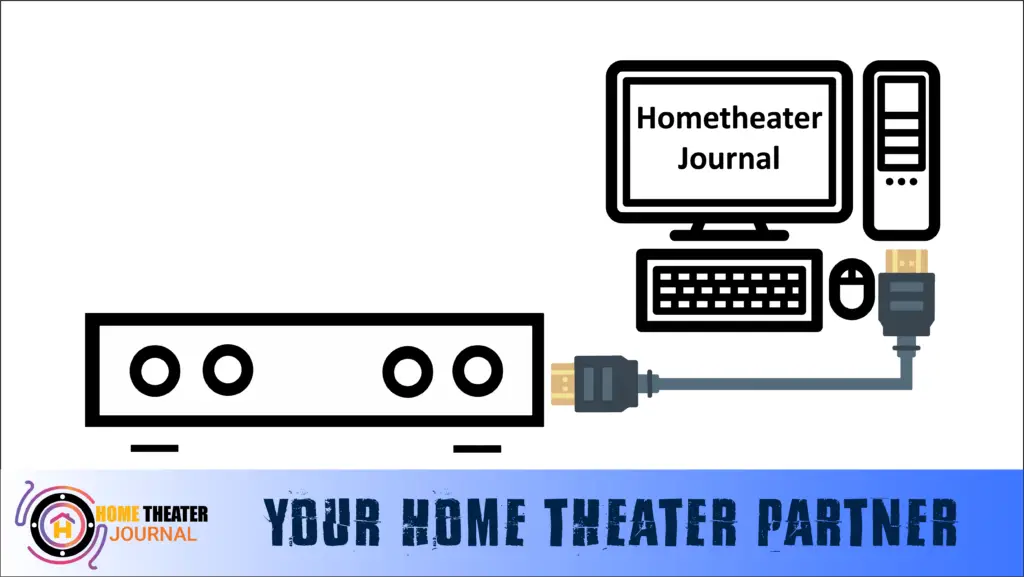
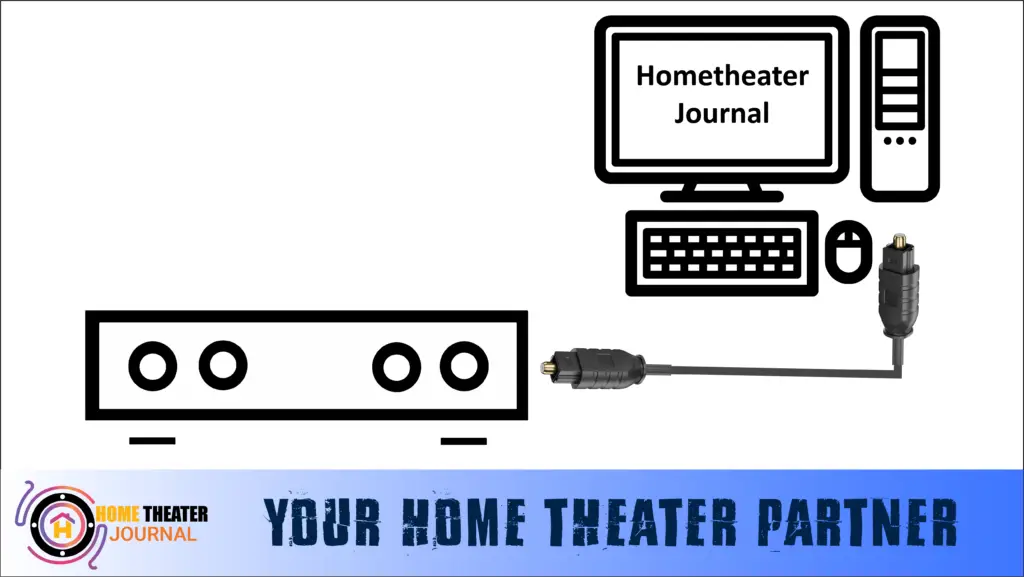
A symphony of similarities echoes in the Logitech Z625’s connectivity suite, embracing the RCA input and 3.5mm speaker cable with open arms. Yet, a trump card emerges as the optical input, a value-added asset. This optical connection orchestrates audio isolation, elevating precision to a symphonic crescendo and profoundly enriching your auditory journey.
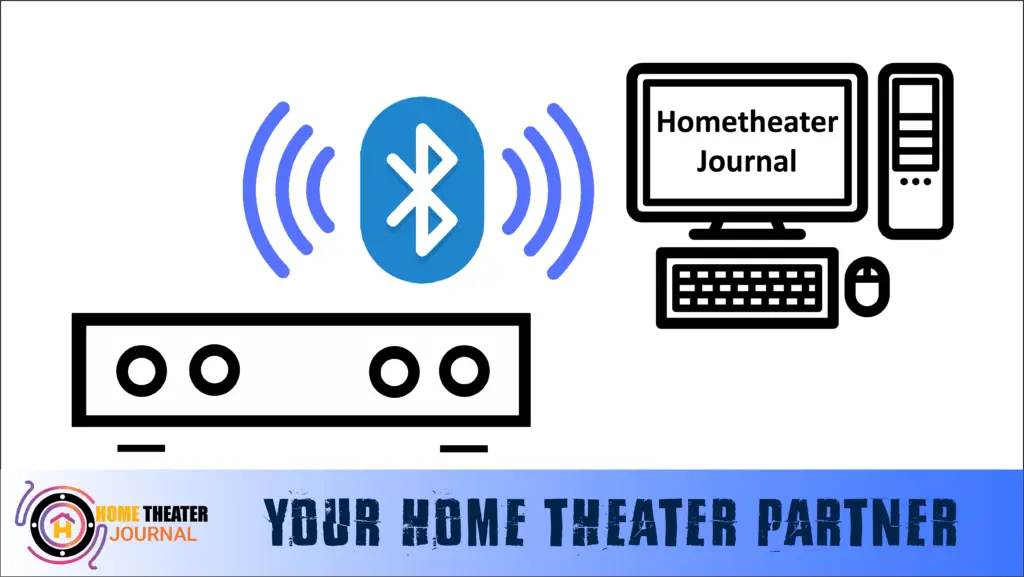
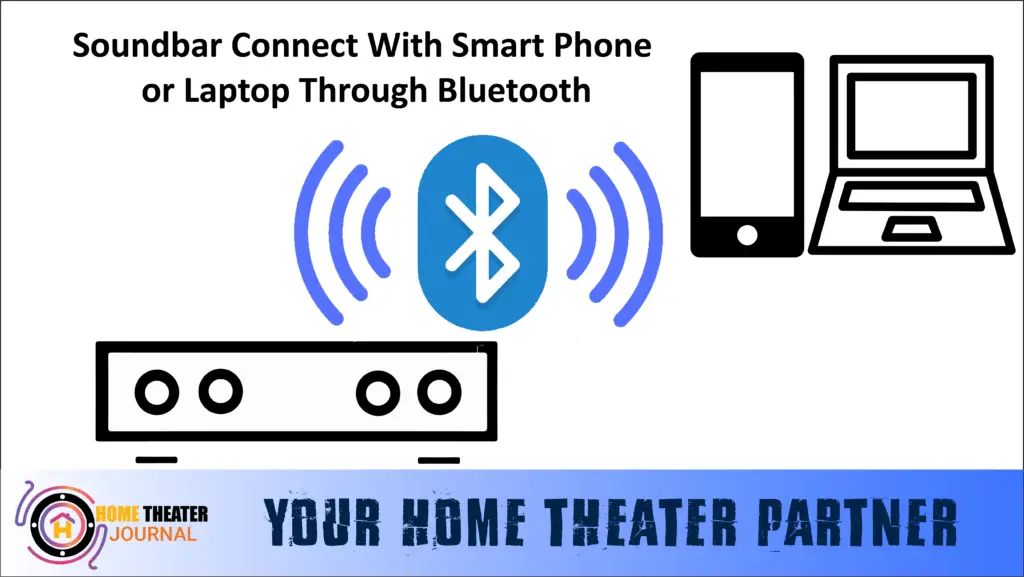
Bluetooth remains an uncharted note for both contenders, a potential deal-breaker for some audiophiles. But fret not; alternative avenues await your exploration. In addition, the absence of a remote control demands a hands-on approach to adjusting RCA inputs and the right speaker options. The speakers house the main controls, ensuring a harmonious user experience without significant challenges.
Subwoofer:
The subwoofer, a crucial component, bears a similarity in size between the Z623 and Z625. Their power capacity remains at 130 watts, but the Z625 flaunts a Bass reflex enclosure, further enriching bass delivery.
Driver:
Both models wield front-firing drivers in their satellite speakers, designed to precisely deliver sound. The Z625’s driver showcases its prowess, effectively simulating surround sound and embracing mid and high-efficiency sounds.
Ports:
While the ports remain identical, the Z625 boasts an optical port as an added advantage. This port extends connectivity options, securing its edge in the connectivity arena.
THX Certification:
Both systems proudly flaunt THX certification, assuring optimal performance and sound quality. This hallmark ensures a transcendent auditory encounter across devices.
Conclusion: Which One is Best?
Both the Logitech Z623 and Z625 are impressive speaker systems, delivering powerful audio and deep bass that enhance the way you experience music, movies, and games. The Logitech Z623 stands out with its clean design, reliable performance, and THX certification, making it a solid choice for users who want high-quality sound without extra frills. Its 200-watt power output is more than enough to fill a room with rich sound, and it handles everyday entertainment brilliantly, whether you’re gaming or watching your favourite films.
However, if you’re looking for something more advanced, the Logitech Z625 is the better option. With double the peak power at 400 watts, an added optical input for modern devices, and equally impressive bass performance, it provides a more versatile and immersive experience. Whether you’re using it with a TV, PC, or gaming console, the Z625 offers more flexibility and higher performance, making it the ultimate choice for those seeking top-tier sound with modern connectivity. Ultimately, if you prioritise power and connectivity, the Z625 is the way to go, but the Z623 still offers fantastic value for those with simpler audio needs.
FAQ’s
Is the Logitech Z625 good for gaming?
The Logitech Z625 thrives in the gaming. With thundering bass, seamless connectivity options, and precision volume control, it is a gaming enthusiast’s dream. The optical audio port caters perfectly to gaming consoles, enhancing the immersive experience.
Is the Logitech Z625 good for music?
Undoubtedly, the Logitech Z625 is a musical delight. Its optical input cables facilitate crystal-clear music playback, while the ability to connect multiple devices ensures seamless transitions between musical sources. The Z625’s versatility extends the pleasure of musical indulgence.
Is the Logitech Z623 worth buying?
Indeed, the Logitech Z623 is a worthy investment. Its great audio quality, especially in movies and gaming, is accentuated by ground-thumping bass and precise control options. THX certification and captivating auditory prowess make it an asset for any entertainment enthusiast.